 Pin It
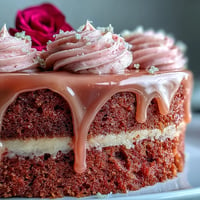
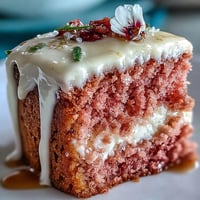
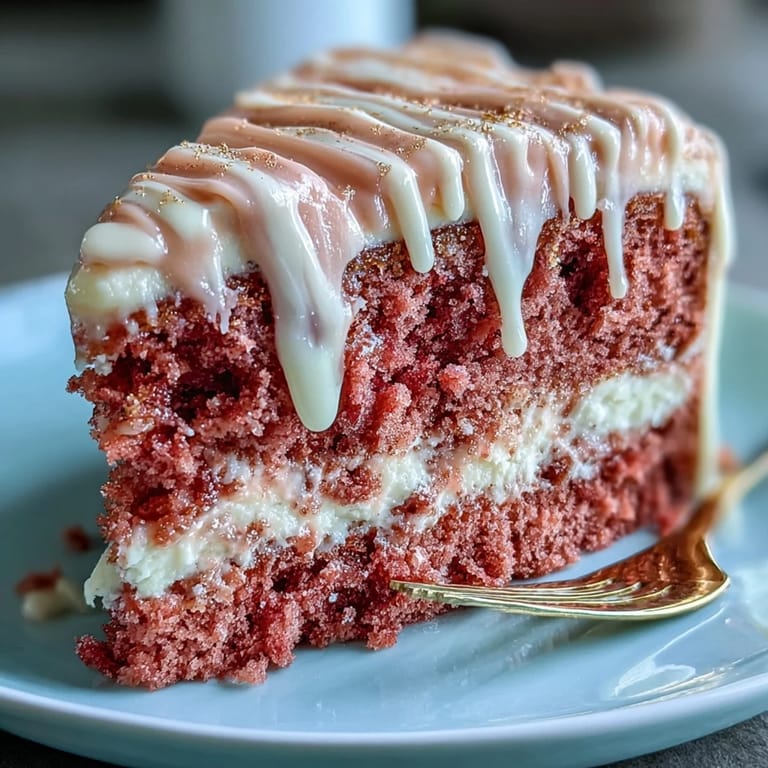
 Testing recipes for a friend's bridal shower tends to leave my kitchen splattered in a riot of pink, and the day I made this Rosé Velvet Cake, the scent of butter and vanilla chased away any uncertainty about its showstopper status. There's something quietly thrilling about folding a swirl of rosé into the batter while sunlight streams through the window, summoning a subtle blush in both the cake and my cheeks. I remember tapping into a playlist of classic love songs as I whisked—every swirl like a little celebration—wondering what tiny gold touches could make the cake extra special. By the time the first slice hit my plate, I realized I'd created something elegant, but never intimidating. It just begged to be at the center of a joyful gathering, with a dusting of edible gold catching the light and the laughter.
That afternoon, my apartment was buzzing with bridesmaids drifting in and out, tossing flower crowns onto the couch as we sampled frosting straight from the bowl. We debated whether edible gold was too much (it never is), snuck scraps of warm cake off the cooling racks, and tried to predict whose pink hands would stain the least. With a pastry brush in one hand and a flute of leftover rosé in the other, I realized I'd never laughed so much while trying to paint a cake gold.
Ingredients
- All-purpose flour: Gives the cake its soft crumb and sturdy enough layers—sift for the lightest texture.
- Granulated sugar: Sweetens just right; I found creaming longer really makes the crumb fine.
- Baking soda & baking powder: For that lofty rise—double check both are fresh.
- Salt: A pinch sharpens flavors; don't skip it.
- Unsweetened cocoa powder: Adds depth to the pink hue; go for Dutch-process if you can.
- Unsalted butter: Soft and creamy is key—leave it out before you start.
- Buttermilk: Makes the cake extra tender; room temp is a must.
- Rosé wine: The signature flavor—use one you'd actually drink.
- Eggs: Room temperature helps everything emulsify; I always nudge them into warm water if I forget.
- Vanilla extract: For warmth beneath the rosé.
- White vinegar: A velvet cake secret: it ensures a tender crumb.
- Pink food coloring gel: For that perfect bridal blush; start slow, it goes further than you think.
- Cream cheese: Tangy and smooth, pairs beautifully with the rosé notes.
- Powdered sugar: Sift or risk lumpy frosting—trust me.
- Heavy cream: Helps the white chocolate flow for your gold drip.
- White chocolate chips: Use a good brand for a true white shade to paint gold.
- Edible gold luster dust & vodka/clear extract: This turns humble chocolate into a magical, bridal-worthy finish.
Tired of Takeout? 🥡
Get 10 meals you can make faster than delivery arrives. Seriously.
One email. No spam. Unsubscribe anytime.
Instructions
- Prep your pans:
- Line three 8-inch cake pans with parchment paper—no amount of butter can save a stuck pink layer.
- Sift dry ingredients:
- Whisk flour, cocoa, baking soda, baking powder, and salt together until no cocoa lumps remain; the color should look barely brownish-pink.
- Cream butter and sugar:
- Beat until it's pale and fluffy, scraping down the sides for an even whip; listen for the beaters’ gentle hum.
- Combine eggs and vanilla:
- Add eggs one at a time, beating well, letting the mixture turn glossy before adding the next—stir in vanilla for a sweet aroma.
- Add the liquid magic:
- Pour in buttermilk, rosé, and vinegar, blending on low; watch as the batter quietly blushes.
- Mix in the dry:
- Fold dry ingredients in three parts, just until combined; over-mixing ruins that tender crumb.
- Tint it pink:
- Add gel coloring slowly—a toothpick works better than a heavy hand—until you love the shade.
- Bake and cool:
- Divide into pans and bake 30–35 minutes; your kitchen will smell like sweet dreams. Cool in pans briefly, then tip onto racks (cake lifters are your friend).
- Cream cheese rosé frosting:
- Beat butter and cream cheese smooth, then gradually add sugar; drizzle in rosé and vanilla for the fluffiest, dreamiest swirl.
- Stack and crumb coat:
- Level cooled cakes, fill and frost between layers, cover the outside thinly to catch crumbs, then chill before final frosting!
- Gold drip showtime:
- Melt white chocolate and cream in short bursts in the microwave, stirring until silky; let cool, then spoon carefully around the cake's top edge.
- Paint the drip:
- Mix gold luster dust with a few drops of vodka, paint drips once set—work with a gentle touch for that just-right sparkle.
- Final chill:
- Pop the finished cake in the fridge for half an hour to set, then sigh in satisfaction before slicing.
 Pin It
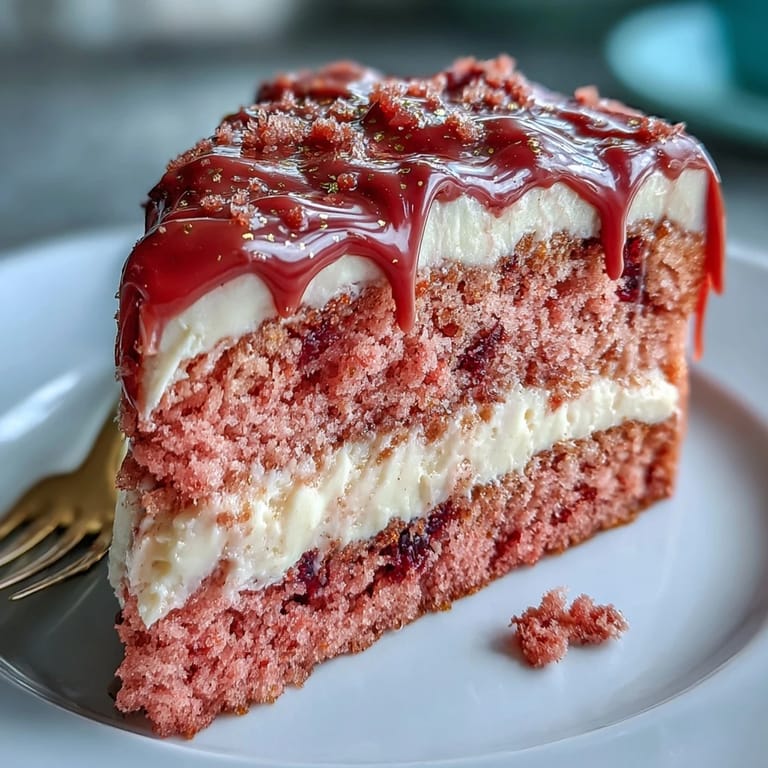
 Watching the bride's eyes widen as the cake came out—every gold curl catching the afternoon sun—felt like a hug in dessert form. Even the flower girls stopped their sugar-fueled dance party just to peek at the pink inside, and suddenly, this cake felt like more than just a recipe but a sweet centerpiece of joy.
Getting the Blush Just Right
The first few times, I overdid the pink and ended up with neon layers; less is definitely more with food coloring gel. Mix thoroughly before judging the color, as the batter always brightens in the oven. Start with a tiny amount and you can always add, but you can't take away. If you're nervous, test a spoonful on a white plate to preview the final shade.
Making Edible Gold Shine
Brushing gold onto a chocolate drip is surprisingly soothing, like culinary arts-and-crafts. I learned not to rush—painting in two thin layers, letting it dry between, prevents any dull, streaky effect. Be gentle with the brush so you don't crack the chocolate underneath. Keep extra gold luster on hand for touch-ups (a little goes everywhere).
Serving for Special Moments
I recommend slicing with a hot, clean knife for photogenic slices every time, and serving with just-barely-chilled rosé for maximum celebration vibes. The flavor deepens after a few hours in the fridge, so it's ideal for making ahead, and pairs beautifully with fresh berries on each plate. Don't skip the crumb coat—it saves you so much mess. Line your cake stand with parchment strips before frosting, then slide them out for a pristine look. Pair leftovers with morning coffee for a reminder that cake can be a little bit of everyday magic.
- Always store leftovers covered in the fridge.
- If the frosting softens, chill before re-slicing.
- Gold drip stays shiniest when painted just before serving.
 Pin It
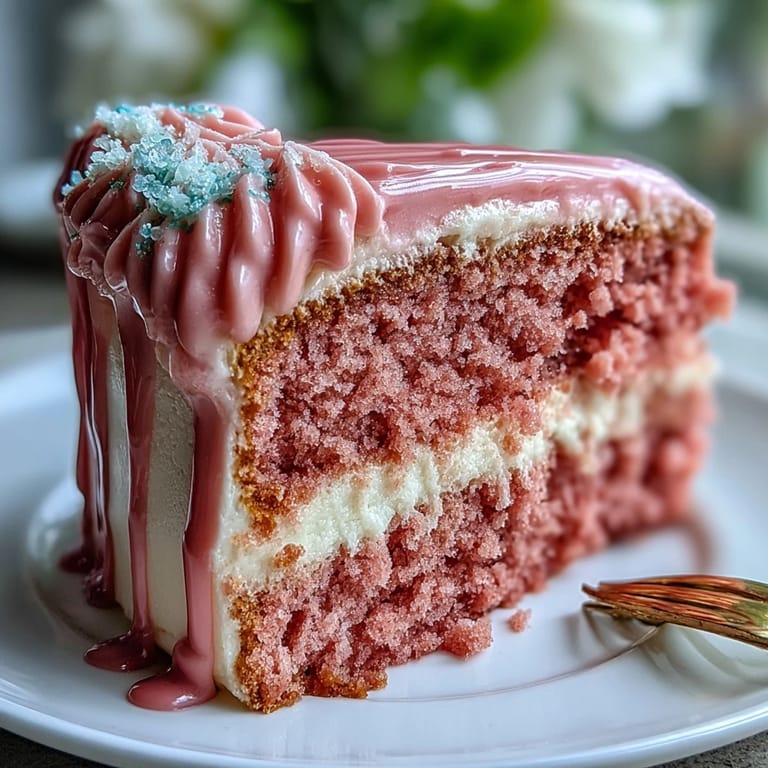
 This cake has a way of turning any occasion into a little celebration, and every slice feels like a sunny, sparkling toast. Pour yourself a glass of rosé and savor every gold-flecked bite—you earned it.
Recipe FAQs
- → How can I boost the rosé flavor without making the crumb soggy?
Lightly brush cooled layers with a small amount of rosé or a reduced rosé syrup to concentrate flavor. Apply sparingly between layers so the cake stays tender but not wet.
- → What gives the cake its even blush color?
Use gel food coloring added a little at a time and fold gently for an even hue. Gel gives strong color without thinning the batter, while gradual mixing prevents streaks.
- → How do I achieve a smooth, stable cream cheese frosting?
Start with room-temperature butter and cream cheese, beat until fully smooth, then add sifted powdered sugar gradually. Chill briefly if frosting becomes too soft before final assembly.
- → What’s the best way to make a clean gold drip?
Make a white chocolate ganache with warm cream and white chocolate, cool until slightly thickened, then drip from the edge. Paint on edible gold luster dissolved in a small amount of clear extract or food-grade alcohol for a bright finish.
- → Can I prepare components in advance?
Yes—baked layers can be wrapped and chilled or frozen. Frosting keeps refrigerated; assemble and chill to set the crumb coat before final frosting and dripping the chocolate.
- → How should I store the finished cake?
Store covered in the refrigerator for up to 3 days to protect the cream cheese frosting and gold finish. Bring to room temperature 30–60 minutes before serving for best texture.