 Pin It
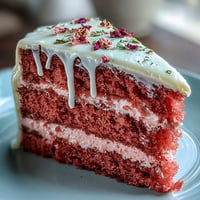
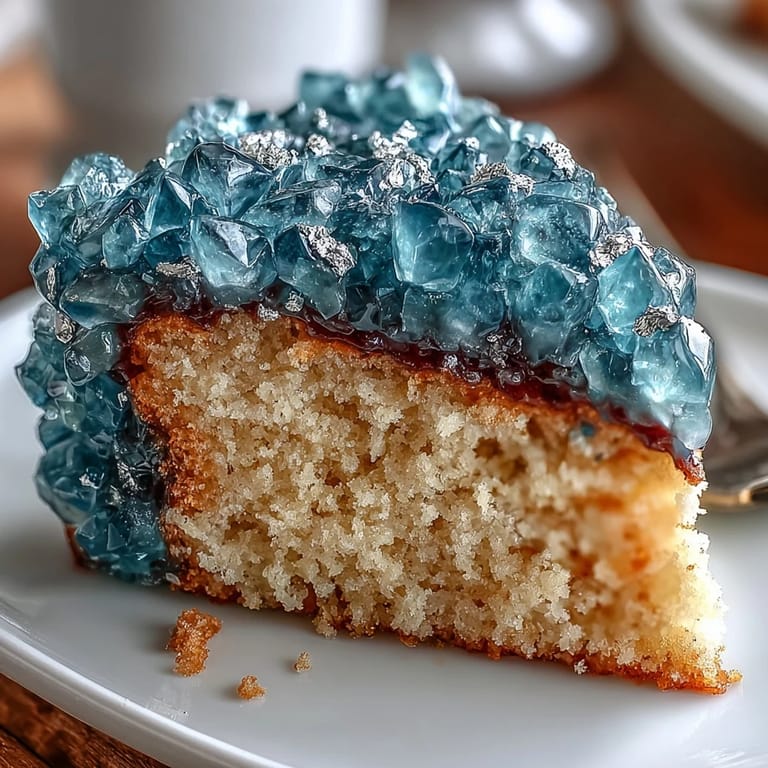
 The teal and gold geode slice started as a dare from a friend who wanted something that looked like jewelry on a cake stand and tasted like a simple vanilla layer cake.
I remember assembling the first one while caps and gowns were being folded on the couch and the house filled with warm vanilla while someone practiced a commencement speech nearby.
Ingredients
- All purpose flour 3 cups: Provides the framework for tall even layers so weigh or spoon and level for best results.
- Baking powder 2 1/2 teaspoons and salt 1/2 teaspoon: Small amounts that make a big difference in lift and balance of flavor.
- Unsalted butter 1 cup for cake 2 cups for buttercream: Room temperature butter gives a smooth batter and a silkier frosting when beaten well.
- Granulated sugar 2 cups and powdered sugar 6 cups: Granulated for structure and powdered for fluffy spreadable buttercream.
- Eggs 4 large and whole milk 1 1/4 cups: Eggs add richness and milk helps the batter stay tender.
- Vanilla extract 1 tablespoon and for buttercream 2 teaspoons: Real vanilla ties the whole cake together so use a good quality extract.
- Rock sugar crystals 2 cups for geode: Clear or white crystals are easiest to tint and give the faceted geode look.
- Teal gel food coloring and edible gold leaf or gold luster dust: Gel color is more concentrated and gold finishes elevate the geode edges.
- Simple syrup optional: Brushing layers keeps the cake extra moist especially for make ahead builds.
Tired of Takeout? 🥡
Get 10 meals you can make faster than delivery arrives. Seriously.
One email. No spam. Unsubscribe anytime.
Instructions
- Make the cake batter:
- Preheat the oven to 350°F 175°C and prepare three 8 inch pans by greasing and lining them so nothing sticks.
- Bake the layers:
- Divide batter evenly and bake about 28 to 32 minutes until a toothpick comes out clean then cool in pans 10 minutes before transferring to racks.
- Whip the buttercream:
- Beat room temperature butter until creamy then add sifted powdered sugar vanilla and heavy cream until spreadable and silky.
- Tint the frostings:
- Reserve a bit of uncolored buttercream for the crumb coat and tint the rest teal in the shade you like using gel coloring.
- Color the sugar crystals:
- Gently mix a few drops of gel color into the rock sugar on parchment and let them dry so they are not sticky when applied.
- Stack and crumb coat:
- Level the layers add thin layers of buttercream between them apply the uncolored crumb coat then chill the cake about 20 minutes for a clean outer finish.
- Carve the geode slice:
- Use a sharp serrated knife to carve a wedge into the side exposing the inside then spread a thin tacky layer of buttercream in the cavity.
- Set the crystals and gild the edges:
- Press the teal crystals into the buttercream with lighter bits in the center then paint the edges with edible gold leaf or gold luster dust mixed with a little clear alcohol for shine.
- Final touches:
- Add any extra gold accents and a graduation topper then chill briefly so everything settles before serving.
 Pin It
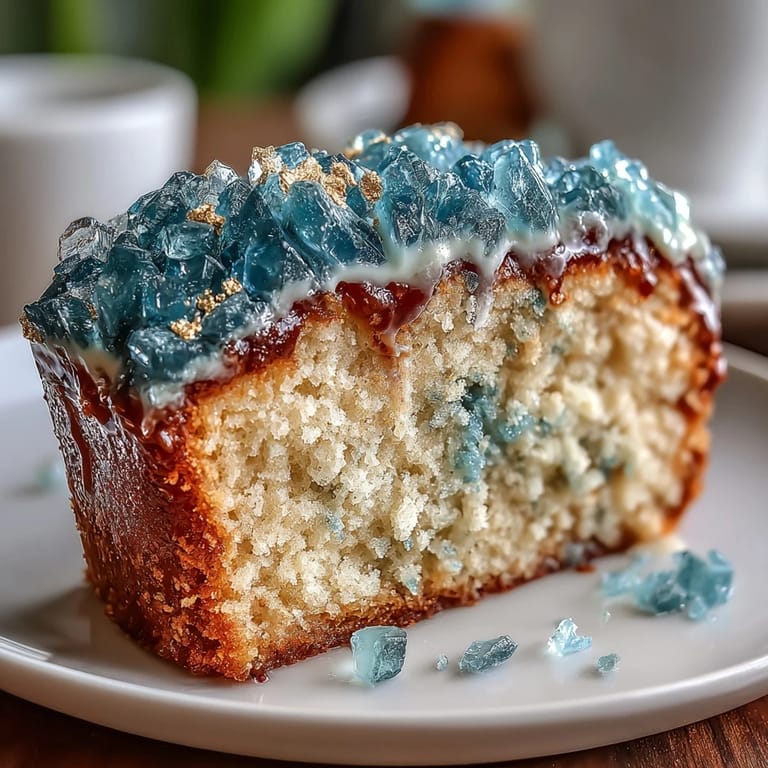
 At the graduation party people hesitated before the first slice because it looked like something delicate but when the knife revealed the soft vanilla layers everyone cheered and the room felt more celebratory than any decoration could manage.
Flavor swaps to try
Try a splash of lemon or almond extract in the batter for a subtle twist that plays nicely with the sweet buttercream and the sharp crunch of rock sugar.
Make ahead and chill tips
You can bake the layers a day ahead and wrap them tightly then assemble the day of for fresher frosting work and the crystals hold up best if applied within a few hours of finishing.
Quick fixes on the fly
If something goes wrong a thin smear of buttercream can hide small gaps and a light dusting of gold disguises uneven edges.
- Warm a metal spatula to smooth frosting faster.
- Keep extra powdered sugar on hand to thicken soft buttercream.
- Press crystals into slightly tacky buttercream for secure adhesion.
 Pin It
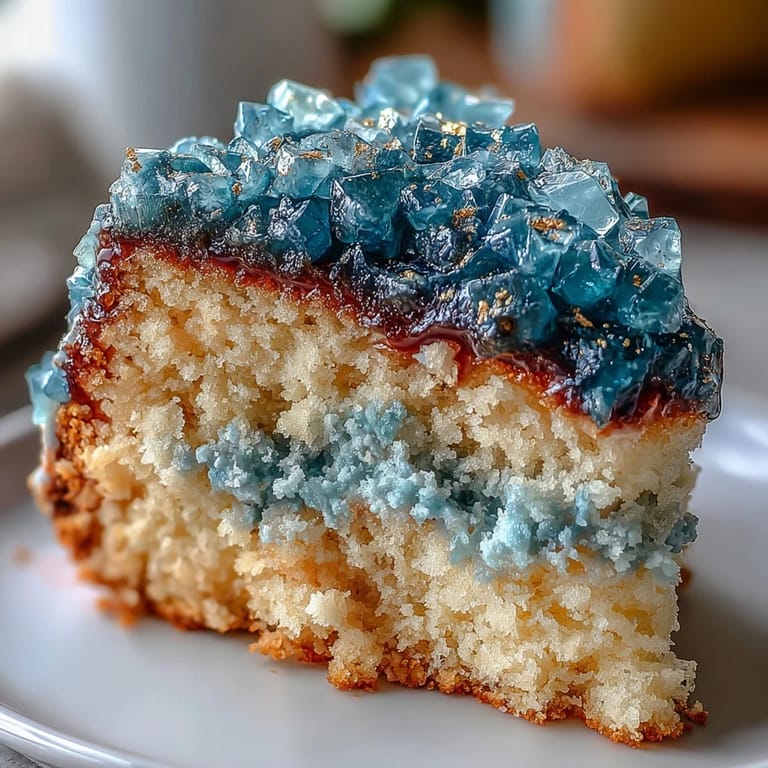
 Take a deep breath before the reveal and enjoy the moment of discovery when friends and family see the geode slice because that reaction is the best part of making this cake.
Recipe FAQs
- → How do I color the rock sugar crystals evenly?
Use gel food coloring and toss a few drops with the crystals in a bowl, stirring gently until coated. Spread on parchment to dry; repeat with small amounts to deepen the hue without dissolving the crystals.
- → What keeps the sugar crystals from falling out of the geode?
Press the crystals into a thin layer of buttercream or piping gel inside the carved cavity, then chill the cake so the filling sets. For extra hold use a dab of slightly firmer buttercream at the base of larger crystals.
- → Can I make components ahead of time?
Yes. Bake and cool layers, wrap tightly and refrigerate or freeze. Buttercream can be made ahead and stored chilled. Assemble and decorate within a day or two for best texture and appearance.
- → Are there good alternatives to rock sugar if unavailable?
Clear hard candies (coarsely chopped) or chunks of tempered/isomalt sugar can mimic the crystal effect. Ensure pieces are food-safe and not sticky; color them with gel or airbrush color as needed.
- → How do I achieve a smooth, even teal buttercream finish?
Use gel color to avoid thinning the buttercream, add gradually and mix thoroughly. Apply a chilled crumb coat first, then a final coat; smooth with an offset spatula or bench scraper, warming the spatula slightly for a cleaner finish.
- → How should the finished cake be stored and served?
Store refrigerated in a cake box or covered to protect crystals and gold leaf. Bring to cool room temperature before serving for best texture. Avoid humid conditions to keep sugar crystals crisp.