 Pin It
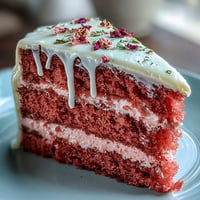
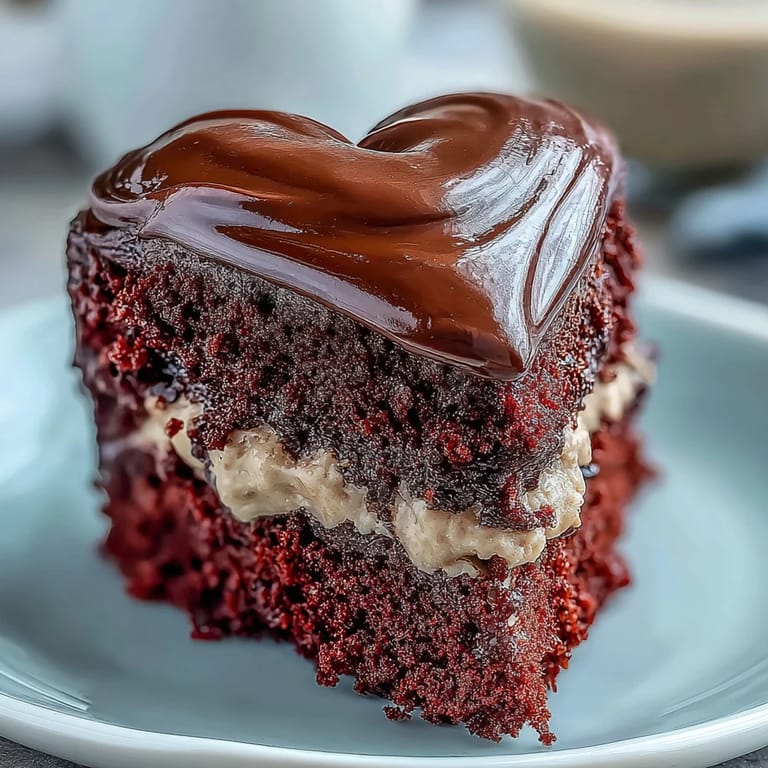
 The kitchen smelled like cocoa and butter when I noticed the batter had turned the most unreal shade of crimson. I was piping a chocolate Betty Boop onto parchment, trying not to laugh at how wobbly her silhouette looked compared to the cartoon I loved as a kid. My niece wandered in, saw the heart-shaped pans, and asked if this was a valentine for someone special. I told her it was for anyone who needed a little whimsy on their plate.
I made this cake for a friends birthday brunch, and the moment I set it on the table, everyone went quiet. Then someone said it looked too pretty to eat, which lasted about five seconds before forks appeared. The contrast between the soft red layers and the crisp chocolate Betty was exactly what I hoped for. One friend asked for the recipe before she even finished her slice, and I knew I had a keeper.
Ingredients
- Cake flour: Sifted cake flour gives the crumb that signature tender, fine texture that makes red velvet so special.
- Natural unsweetened cocoa powder: Just enough to add depth without overpowering the vanilla or turning this into a chocolate cake.
- Baking powder and baking soda: The duo creates lift and lightness, especially when activated by the vinegar at the end.
- Fine sea salt: Balances the sweetness and enhances every other flavor in the batter.
- Unsalted butter, room temperature: Creaming it with sugar creates air pockets that make the cake rise and stay moist.
- Granulated sugar: Sweetens and helps build structure, giving the cake its tender crumb.
- Large eggs, room temperature: Cold eggs can break the emulsion, so let them sit out for 20 minutes before mixing.
- Buttermilk, room temperature: Adds tang and reacts with the baking soda for a fluffy, soft texture.
- Red gel food coloring: Gel-based is key for vibrant color without thinning the batter or affecting the bake.
- Pure vanilla extract: Use the real thing for a warm, rounded sweetness that supports the cocoa and buttermilk.
- White vinegar: Activates the baking soda right before baking, creating a light, airy crumb.
- Cream cheese, room temperature: The base of the frosting, it must be soft to avoid lumps.
- Powdered sugar, sifted: Sifting prevents grittiness and keeps the frosting silky smooth.
- Dark chocolate or candy melts: Choose dark chocolate for a rich, slightly bitter contrast to the sweet frosting.
- Parchment paper: Essential for lining pans and creating the chocolate silhouette without sticking.
Tired of Takeout? 🥡
Get 10 meals you can make faster than delivery arrives. Seriously.
One email. No spam. Unsubscribe anytime.
Instructions
- Preheat and prep:
- Set your oven to 350°F and grease two heart-shaped pans, lining the bottoms with parchment so the cakes release cleanly. This step saves you from heartbreak later.
- Mix the dry ingredients:
- Whisk together the cake flour, cocoa powder, baking powder, baking soda, and salt in a medium bowl. Set it aside while you work on the wet ingredients.
- Cream the butter and sugar:
- Beat the room-temperature butter for about a minute until its creamy, then add the sugar gradually and beat for 2 to 3 minutes until the mixture is pale and fluffy. This is where the cakes texture begins.
- Add the eggs:
- Crack in the eggs one at a time, beating on low after each addition just until blended. Scrape down the bowl sides as needed to keep everything even.
- Stir in color and flavor:
- Mix in the red gel food coloring, vanilla extract, and white vinegar until the batter is evenly crimson. The color should be bold and vibrant.
- Alternate dry and wet:
- With the mixer on low, add one-third of the dry ingredients, then half the buttermilk, mixing just until incorporated. Repeat with another third of dry, the remaining buttermilk, and finish with the last third of dry ingredients to keep the batter tender.
- Activate the baking soda:
- In a small cup, combine 1 teaspoon vinegar with the baking soda, then gently fold the foaming mixture into the batter. This reaction creates lift and a light crumb.
- Divide and bake:
- Divide the batter evenly between the prepared pans, smoothing the tops with an offset spatula. Bake on the center rack for 25 to 30 minutes, or until a toothpick inserted in the center comes out clean.
- Cool the cakes:
- Let the cakes cool in the pans for 10 minutes, then run a thin knife around the edges and invert onto wire racks. Remove the parchment and let them cool completely before frosting.
- Make the frosting:
- In a clean mixer bowl, beat the cream cheese and butter on medium speed for 2 minutes until smooth. Gradually add the powdered sugar and a pinch of salt, then the vanilla extract, beating on low until the frosting is fluffy and lump-free.
- Level and layer:
- If the cake tops are domed, level them with a serrated knife. Place one heart layer on a cake board or plate, pipe or spread about three-quarters of a cup of frosting over the top, then add the second layer and press gently.
- Apply the crumb coat:
- Refrigerate the stacked cake for 15 minutes, then spread a thin crumb coat of frosting over the entire cake. Chill for another 10 minutes, then add a final smooth layer of frosting, swirling or smoothing as desired.
- Create the chocolate silhouette:
- Place the printed Betty Boop stencil under a sheet of parchment, then pipe or brush melted dark chocolate over the outline. Let the chocolate set at room temperature or in the refrigerator for 10 minutes.
- Attach the silhouette:
- Carefully peel the chocolate Betty Boop from the parchment and lift it onto the center of the cake, pressing gently so it adheres to the frosting. Handle it delicately to avoid cracks.
- Final touches:
- Decorate the cake edges with additional frosting rosettes, edible glitter, or red sugar pearls. Chill the cake for 30 minutes before serving to let the frosting set, then slice with a warm, clean knife for neat, heart-shaped portions.
 Pin It
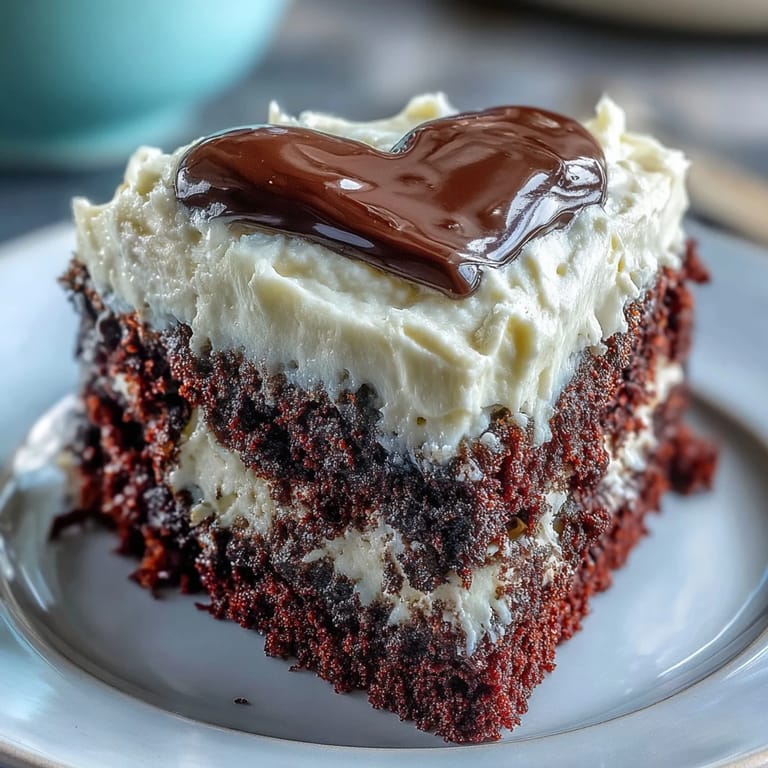
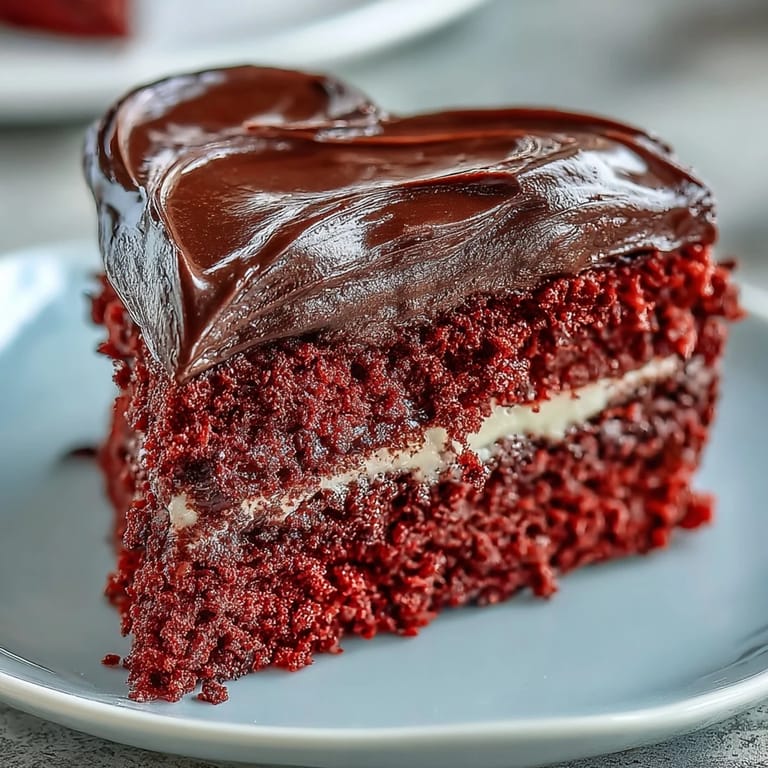
 The first time I lifted that chocolate Betty Boop onto the frosting, I held my breath. It stuck perfectly, and the contrast between the dark silhouette and the creamy red background made the whole cake feel like a piece of edible art. My friend took a photo before cutting it, and later told me she printed it and hung it on her fridge. That moment reminded me why I love baking, it turns ingredients into memories.
Choosing Your Chocolate
Dark chocolate gives the silhouette a rich, slightly bitter edge that balances the sweet frosting, but you can also use candy melts for easier piping and a smoother finish. If you want a starker contrast, try white chocolate dyed black with oil-based food coloring. I learned that water-based dyes seize chocolate, so stick with oil or gel-based options. The chocolate should be melted gently over a double boiler or in short microwave bursts to avoid scorching.
Getting the Frosting Just Right
Cream cheese frosting can turn soupy if the butter or cream cheese is too warm, so check that theyre soft but still cool to the touch. I once tried to rush it and ended up with frosting that slid right off the cake. If it does get too soft, pop it in the fridge for 10 minutes and give it a quick re-whip. Sifting the powdered sugar is a small step that makes a huge difference in smoothness. A pinch of salt keeps the frosting from tasting one-dimensional.
Making the Silhouette Pop
Trace your Betty Boop stencil onto parchment with a pencil, then flip the parchment over so the chocolate doesnt touch the pencil marks. Pipe or brush the chocolate in one smooth motion to avoid air bubbles and breaks. Let it set completely before peeling it off, patience here prevents heartbreak.
- If the chocolate cracks while peeling, warm your hands slightly and press the pieces together on the cake.
- For a glossy finish, temper the chocolate or add a teaspoon of coconut oil to the melted chocolate.
- Store any extra silhouettes between parchment sheets in an airtight container for up to two weeks.
 Pin It
 This cake is a little bit of nostalgia, a lot of flavor, and a whole lot of fun to make and share. Whether youre celebrating love, friendship, or just a Tuesday that needs brightening, it never fails to bring smiles.
Recipe FAQs
- → What makes the red crumb so tender?
The buttermilk adds acidity and moisture, while the vinegar activates baking soda for extra lift. Room-temperature ingredients create an emulsified batter, resulting in that signature soft, velvety texture.
- → Can I prepare the chocolate silhouette ahead?
Absolutely. Create the dark chocolate design up to 3 days in advance. Store flat between parchment paper in an airtight container at room temperature, then place atop the frosted cake just before serving.
- → How do I achieve vibrant red color?
Use gel-based food coloring rather than liquid. Gel provides concentrated pigment without thinning the batter. Start with one tablespoon and add more until reaching your desired intensity.
- → Why chill between frosting layers?
Refrigerating for 10-15 minutes after the crumb coat seals loose crumbs, creating a clean foundation. The final smooth layer applies more evenly over chilled frosting, resulting in professional presentation.
- → Can I use round pans instead?
Yes, two 9-inch round pans work perfectly. The Betty Boop silhouette still creates stunning focal point, though you'll lose the heart shape. Adjust baking time to 23-27 minutes and check for doneness.
- → How should leftovers be stored?
Cover the cake tightly or place in an airtight container. Refrigerate for up to 4 days. The texture remains remarkably fresh thanks to the buttermilk and cream cheese protecting moisture content.