 Pin It
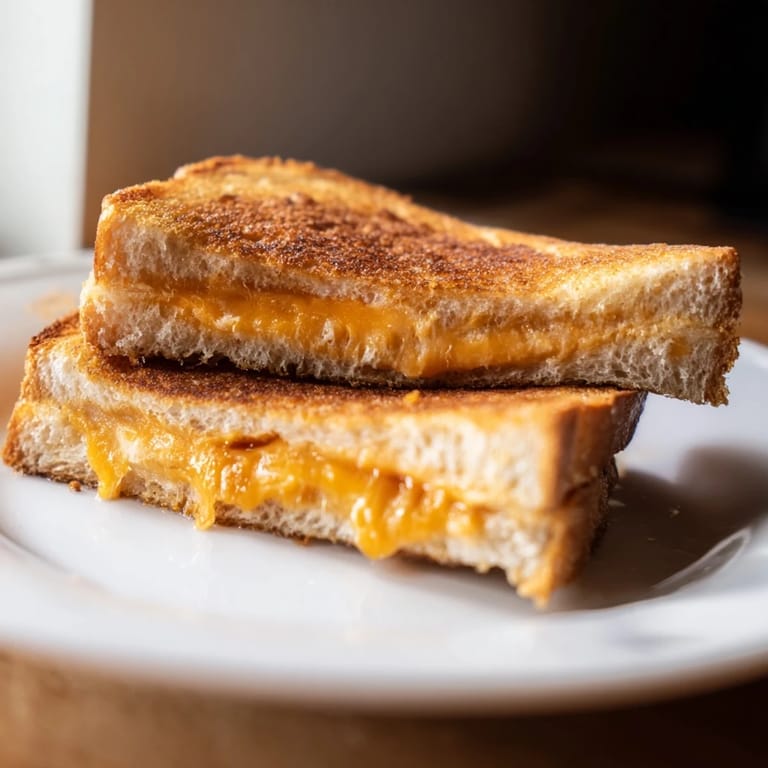
 There's something magical about standing in front of the air fryer, waiting for that first crack of sound when the basket slides out and steam rises with the smell of butter toasting into gold. I discovered this method completely by accident one Tuesday when I was too impatient to stand over a skillet, and it changed everything about how I make grilled cheese. The air fryer doesn't just cook it—it browns it evenly, all sides at once, without the anxiety of timing flips or worrying about burnt edges. Now I find myself making these sandwiches far more often than I probably should, each one somehow better than the last.
I made these for my neighbor once when she stopped by around lunchtime, looking exhausted from working at home all morning. We stood in my kitchen eating them straight from the cooling rack, not bothering with a plate, and she said it was the best thing she'd eaten all week. That's when I realized this wasn't just about the sandwich—it was about how easily something simple and warm could shift someone's whole mood.
Ingredients
- Bread: Four slices of white or whole wheat sandwich bread—whatever you love eating. The sturdier the bread, the better it holds up to the air fryer's heat without falling apart.
- Cheese: Four slices of cheddar or any cheese that melts beautifully for you, whether that's American, Gruyère, or a blend. The quality of the cheese is really where the magic happens.
- Unsalted butter: Two tablespoons softened to room temperature so it spreads easily without tearing the bread.
Tired of Takeout? 🥡
Get 10 meals you can make faster than delivery arrives. Seriously.
One email. No spam. Unsubscribe anytime.
Instructions
- Heat your air fryer:
- Preheat to 180°C (350°F) for about 3 minutes while you gather everything. This ensures your bread toasts evenly from the moment it hits the basket.
- Butter the bread:
- Spread softened butter on one side of each slice—don't be shy, but don't glob it on either. You want an even coating that'll turn golden and crispy.
- Build your sandwiches:
- Place two slices buttered-side down on a surface, add two slices of cheese to each, then cap with the remaining bread slices, buttered-side up. Press gently so everything stays together.
- Load the air fryer:
- Arrange your sandwiches in the basket so they're not touching or overlapping. They need room to get crispy on all sides.
- First cook:
- Air fry for 4 minutes until the bottom is golden and the cheese starts softening. You'll hear the butter sizzle if you listen closely.
- Flip and finish:
- Using a spatula, carefully flip each sandwich and air fry for another 3–4 minutes until both sides are deep golden brown and the cheese is completely melted inside. Don't skip this step—it's what makes both sides perfect.
- Rest and serve:
- Let them cool for just a minute so the cheese sets slightly, then slice and eat while everything is still warm and crispy.
 Pin It
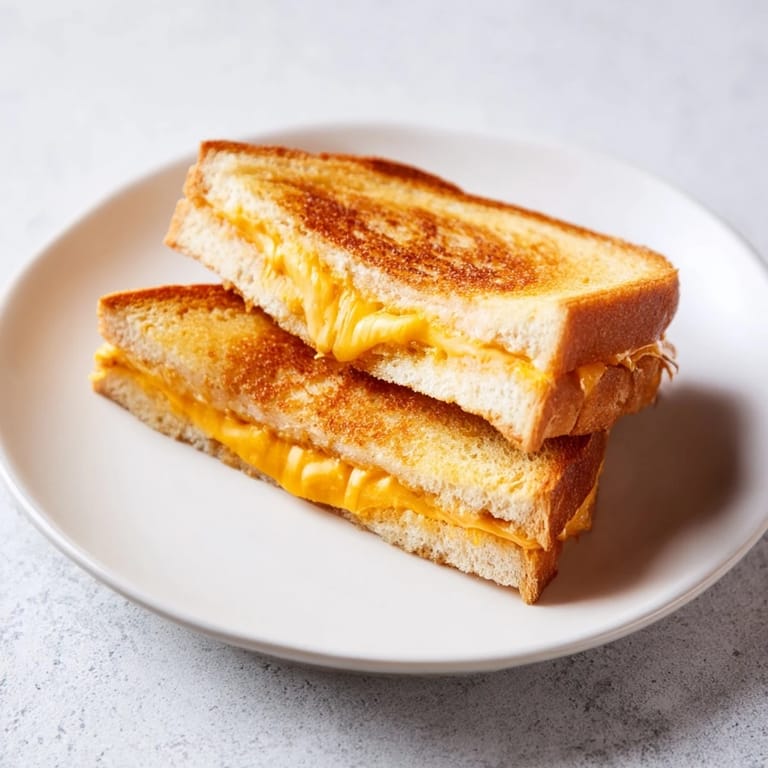
 There's this moment right after they come out of the air fryer when the cheese is still actively melting and the bread is still crisping down from the heat, and if you bite in right then, it's absolute perfection. My kids used to fight over who got to pull them out of the basket first, and somehow that became our favorite Saturday lunch tradition.
Why the Air Fryer Changes Everything
The traditional skillet method requires constant attention—you're standing there flipping, checking the other side, worrying about uneven heat. The air fryer handles all of that by circulating hot air around the sandwich from every angle, so you actually step away for 4 minutes and come back to perfectly browned bread. It's less about having a special appliance and more about having the freedom to do other things while lunch cooks itself.
Ways to Make It Your Own
Once you've made the basic version a few times, you'll start thinking about what else belongs inside. I've tried adding thin slices of tomato (pat them dry first so they don't release water), crispy bacon, fresh basil, or even a thin spread of pesto on the inside. Each addition changes the personality of the sandwich without changing how it cooks.
A Few Final Thoughts
This is the kind of sandwich that doesn't need much—good bread, good cheese, and patience for the right temperature. If you want extra crunch, you can replace the butter with mayonnaise on the outside, and it'll crisp up differently, more like a fried edge. The best version is always the one you eat immediately, while the butter's still singing and the cheese is at its stretchiest.
- Always use softened butter to avoid tearing the bread during spreading.
- Let the sandwiches cool for just 60 seconds after cooking so the cheese sets enough to slice cleanly.
- If your air fryer runs hot, start checking at 3 minutes on the first side to prevent over-browning.
 Pin It
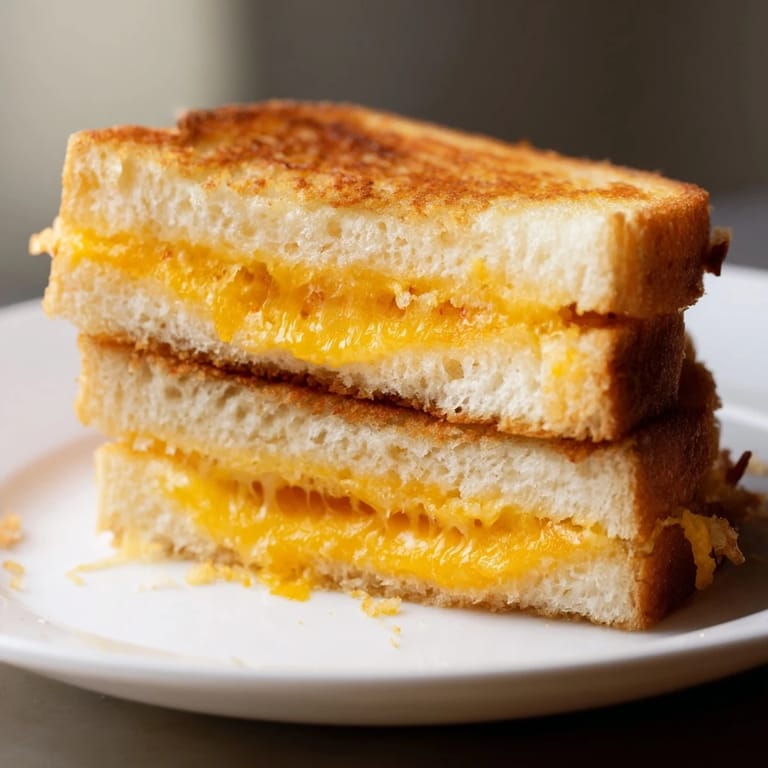
 A grilled cheese in the air fryer proves that sometimes the best cooking shortcuts aren't about skipping steps—they're about finding a better way to get the same warmth and comfort on a plate. Make one today.
Recipe FAQs
- → What bread works best for this sandwich?
White or whole wheat sandwich bread both toast evenly in the air fryer, providing a crispy outer layer while keeping the inside soft.
- → Can I use other types of cheese?
Yes, cheddar works great, but feel free to use your favorite melting cheese like mozzarella or gouda for different flavors.
- → How do I achieve extra crispiness?
Spreading mayonnaise instead of butter on the bread exterior before air frying adds extra crunch and flavor.
- → Do I need to flip the sandwich during cooking?
Yes, flipping halfway through ensures both sides brown evenly and develop a crispy texture.
- → Can I add extra ingredients?
Absolutely. Try sliced tomatoes, cooked bacon, or fresh herbs inside the sandwich for added taste and variety.