 Pin It
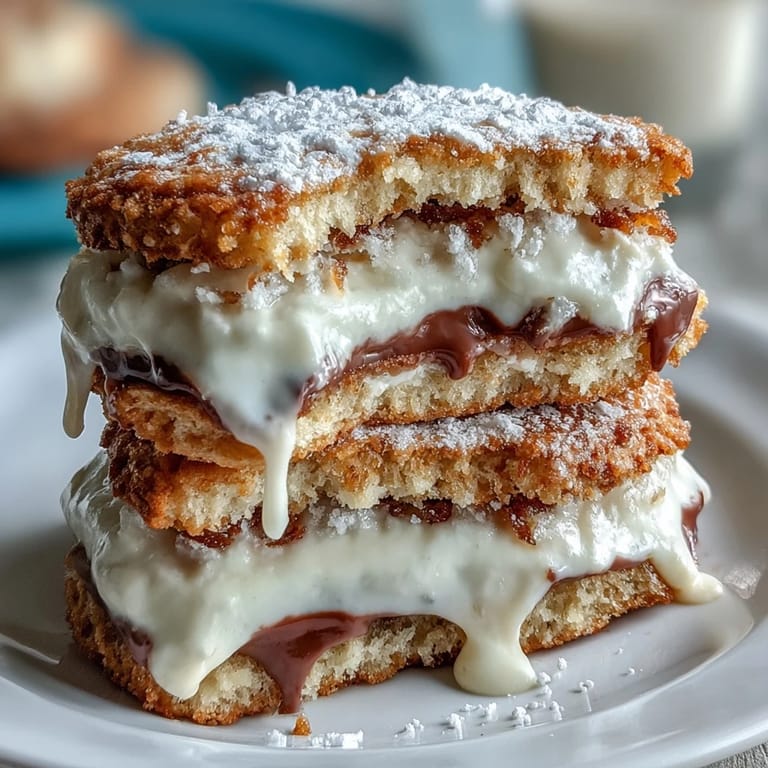
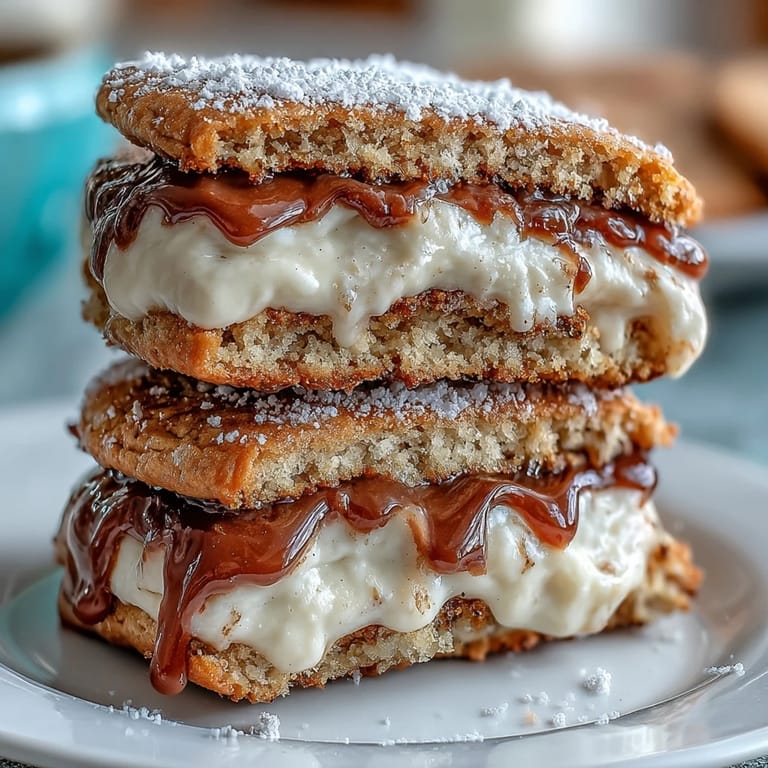
 There's something almost magical about opening a tin of delicate sandwich cookies—the way they nestle together like little treasures, waiting to be discovered. These Milk Cookie Sandwich Cookies came into my life during a late-night gaming session when I stumbled upon Cookie Run Kingdom and became instantly captivated by the whimsical dessert characters. I found myself craving something that captured that same delicate charm, and after some kitchen experimentation, these soft vanilla wafers with their silky cream filling became my answer. The first batch was slightly too thick, the second too thin, but by the third attempt, I'd cracked the code—and suddenly I had a dozen little edible works of art sitting on my cooling rack.
I still remember the moment my sister took her first bite and closed her eyes like she was tasting something from a dream. She asked me to make them for her book club the following week, and I watched from the kitchen as everyone reached for seconds and thirds, talking over each other about how they couldn't believe I'd made these from scratch. That's when I realized these weren't just cookies—they were tiny vessels for connection, the kind of treat that makes people slow down and actually savor something.
Ingredients
- All-purpose flour (240 g): Use a good quality brand and spoon-and-level your flour rather than scooping straight from the bag, which packs it down and can throw off your ratios.
- Unsalted butter (115 g for cookies, 60 g for filling): Let it soften on the counter for about 30 minutes until it's genuinely soft but not greasy—this is non-negotiable for light and fluffy creaming.
- Granulated sugar (130 g): This sweetness cuts through the richness of the butter and keeps the cookies from feeling heavy or cloying.
- Large egg: Room temperature works best, as it incorporates more smoothly into your butter and sugar mixture.
- Milk (30 ml for dough, 15 ml for filling): The milk creates a tender crumb and helps bind everything together without overworking the dough.
- Vanilla extract (1 tsp for dough, 1 tsp for filling): Don't skimp here—real vanilla makes all the difference between a pretty good cookie and an unforgettable one.
- Baking powder (1/2 tsp): Just enough to give these cookies a gentle lift so they're pillowy rather than dense.
- Salt (1/4 tsp): A pinch of salt amplifies all the vanilla flavors and prevents the cookies from tasting one-dimensional.
- Powdered sugar (120 g for filling): Sift it before measuring, otherwise you'll end up with lumpy, grainy filling that won't smooth out.
Tired of Takeout? 🥡
Get 10 meals you can make faster than delivery arrives. Seriously.
One email. No spam. Unsubscribe anytime.
Instructions
- Get Your Oven Ready:
- Preheat to 350°F (175°C) and line two baking sheets with parchment paper—this prevents sticking and ensures even browning on the bottoms. If you don't have parchment, you can use a silicone baking mat, which honestly gives you even better results.
- Mix Your Dry Ingredients:
- In a medium bowl, whisk together the flour, baking powder, and salt until they're evenly combined. This aerates the flour and distributes the leavening agent so you don't end up with pockets of baking powder in your cookies.
- Cream Butter and Sugar:
- In a large mixing bowl, beat the softened butter and granulated sugar together for about 2-3 minutes until the mixture looks pale, fluffy, and almost cloud-like. This is where you're incorporating air, which makes the cookies tender and light rather than dense and heavy.
- Add Wet Ingredients:
- Beat in the egg, then add the milk and vanilla extract, continuing to beat until everything is smooth and well combined. The mixture should look homogeneous at this point—no streaks of butter or egg visible.
- Bring Dough Together:
- Gradually add your dry ingredients to the wet mixture, folding and stirring gently until a soft dough forms. Don't overmix—as soon as you stop seeing streaks of flour, you're done, because overworking the dough leads to tough cookies.
- Shape and Flatten:
- Roll the dough into 1-inch balls and place them about 2 inches apart on your prepared baking sheets, then gently flatten each one with your palm or the bottom of a glass to about 1/4-inch thickness. You want them uniform so they bake evenly.
- Bake Until Golden:
- Pop them into the oven for 10-12 minutes—they're done when the edges are just starting to turn golden but the centers still look slightly underdone. This is the secret to keeping them tender; they'll continue cooking slightly as they cool.
- Cool Completely:
- Let the cookies cool on the baking sheet for about 5 minutes, then transfer them to a wire rack to cool completely before filling. Trying to fill warm cookies will cause the cream to melt and the whole structure to collapse.
- Make the Cream Filling:
- Beat the softened butter until it's smooth and creamy, then gradually add the sifted powdered sugar a little at a time, beating well between additions. Once you've added all the sugar, pour in the milk and vanilla extract and beat until the filling is fluffy and light.
- Assemble the Sandwiches:
- Spread or pipe about 1 tablespoon of cream filling onto the flat side of half your cooled cookies, then gently press a second cookie on top, flat side down. If the filling squishes out the sides, that's perfect—it means you've got enough, and any excess can be smoothed with a small spatula for a polished look.
 Pin It
 Last summer, a neighbor stopped by unexpectedly and I offered her one of these cookies with tea, not thinking much of it. She took a bite and got this wistful look on her face, then told me she hadn't eaten anything that tasted homemade in years—everything had been store-bought or takeout since her kids moved out. That single moment shifted something for me about why we cook; it's not just about flavor, it's about transmitting care into something edible.
The Secret to Perfect Texture
The magic of these cookies lies in understanding that delicate balance between structure and tenderness. I've made them in humid kitchens where the dough was a bit sticky and dry kitchens where it was stiff, and I learned to trust my hands more than the recipe—if the dough feels too wet, add a tablespoon of flour; too dry, add a teaspoon of milk. The cookies should feel soft and pliable when they come out of the oven, almost like they might be underdone, but that's exactly right because they firm up as they cool.
Customizing Your Sandwich Cookies
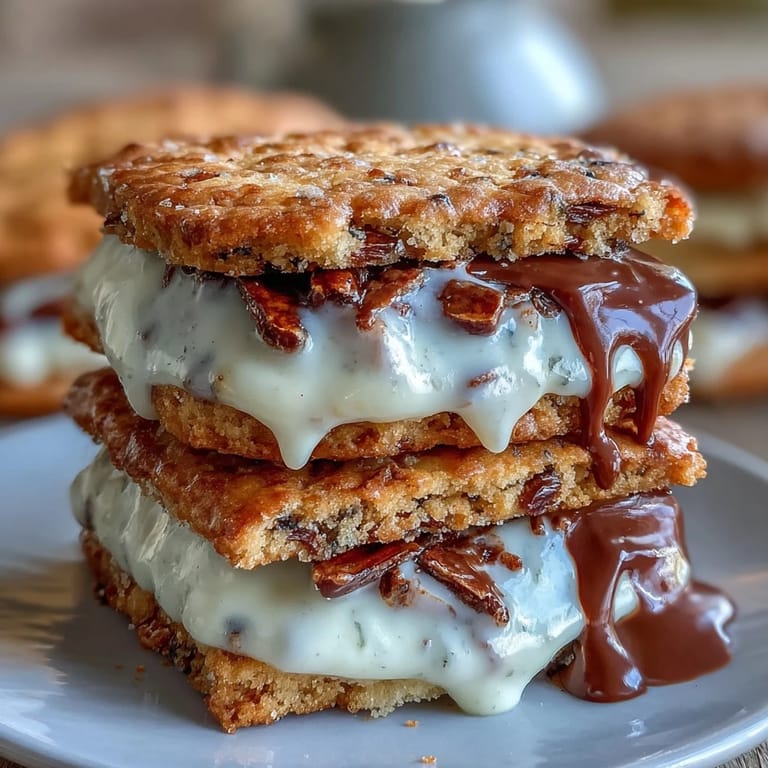
One of my favorite things about this recipe is how endlessly adaptable it is to whatever mood you're in. I've added almond extract instead of vanilla, mixed cocoa powder into the dough for a chocolate version, and even made a batch with a hint of lemon zest that became an instant favorite. The filling is equally flexible—a friend suggested adding a tiny pinch of cinnamon, another swapped in almond butter for part of the regular butter, and suddenly this simple recipe became a launching pad for creativity rather than a rigid formula.
Storage and Keeping
These cookies stay fresh in an airtight container for up to three days, though if you're anything like me, they rarely last that long. I've found that keeping them in a box with a slice of bread helps maintain that tender texture, as the cookies slowly absorb just enough moisture to stay soft without becoming stale. If you want to make them ahead, you can prepare the cookie wafers a day early and fill them just before serving—the unfilled cookies actually keep for almost a week.
- Store filled and unfilled cookies separately if you're not eating them right away, as the filling softens the wafers over time.
- If you're gifting these to someone, pack them in a pretty box lined with parchment between layers so they stay intact during transport.
- These freeze beautifully for up to a month if you stack them gently between parchment sheets in a freezer-safe container—just thaw at room temperature for about 30 minutes before enjoying.
 Pin It
 Every time I make these cookies, I'm reminded that the best recipes aren't the ones that demand perfection—they're the ones that let you show up exactly as you are and still create something worth sharing. These little milk cookies have become my go-to when I want to say thank you to someone without saying anything at all.
Recipe FAQs
- → What makes the cookies tender?
The addition of milk and butter creates a soft, tender texture in the cookies, balancing moisture and richness.
- → How is the cream filling prepared?
Butter is whipped until smooth, then powdered sugar, milk, and vanilla extract are added slowly and beaten until fluffy and light.
- → Can I add flavors to the cookies?
Yes, incorporating cocoa powder can add a chocolate note, and decorating with sprinkles enhances visual appeal.
- → How do I store the sandwiches?
Store in an airtight container at room temperature for up to three days to maintain freshness.
- → What kitchen tools are needed?
Basic tools like mixing bowls, an electric mixer or whisk, baking sheets, and parchment paper are sufficient.