 Pin It
 I started saving vegetable scraps in a gallon bag in the freezer after watching my neighbor do it one Sunday morning. She swore it was the secret to never buying broth again, and honestly, I thought she was just being thrifty until I tasted what came out of her pot. The smell alone, this deep, earthy sweetness filling her kitchen, sold me completely. Now my freezer always has a bag bulging with onion skins, carrot tops, and celery ends waiting to become something warm and golden.
The first time I made this for a sick friend, I brought over a jar still warm from the stove. She sipped it straight from a mug, no soup, no additions, and told me it tasted like someone cared. That moment taught me that broth is not just a base, it is comfort you can pour. Since then, I have given away more jars than I can count, and every single one has come back empty with a smile.
Ingredients
- Vegetable Scraps: This is where your freezer bag of odds and ends shines, carrot peels add sweetness, onion skins bring deep color, and celery ends offer that classic savory backbone.
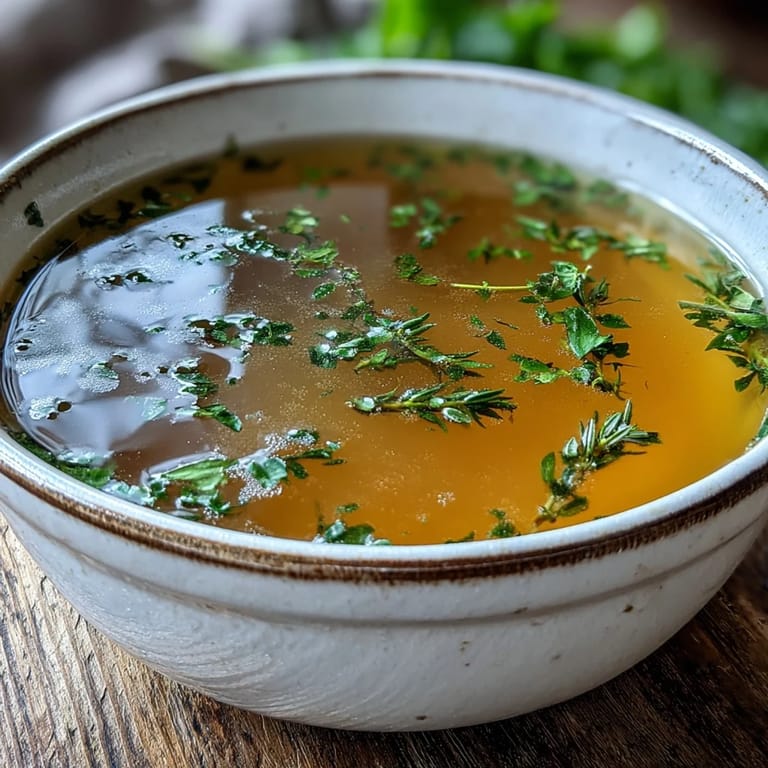
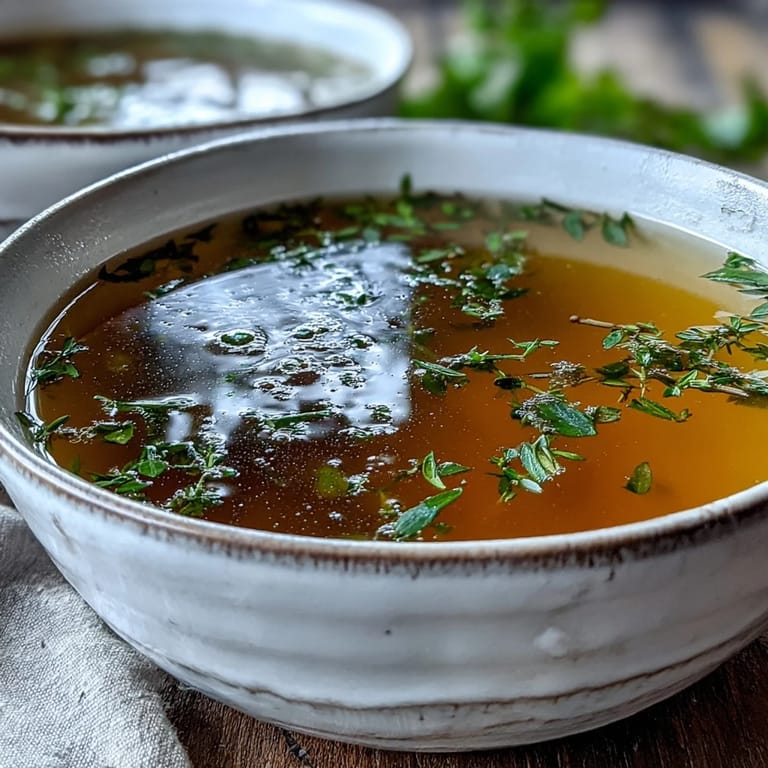
- Bay Leaf: One leaf is all you need to add a subtle herbal note that makes the broth taste layered and thoughtful.
- Black Peppercorns: A handful of these little guys adds a gentle warmth without any sharpness, just roll them between your fingers first to wake up the oils.
- Garlic: Crushed cloves mellow out beautifully in the simmer, lending a soft, roasted sweetness that rounds everything out.
- Salt: I add just a pinch during cooking, then adjust at the end, this way the broth stays versatile for whatever recipe comes next.
- Thyme: A sprig of fresh thyme or a pinch of dried brings an earthy, almost floral quality that makes the broth smell like a French country kitchen.
- Cold Water: Starting with cold water helps draw out flavors gently as the pot heats, creating a clearer, cleaner broth.
Tired of Takeout? 🥡
Get 10 meals you can make faster than delivery arrives. Seriously.
One email. No spam. Unsubscribe anytime.
Instructions
- Gather Your Scraps:
- Pull out your saved vegetable trimmings and give them a quick rinse if needed. Skip anything bitter like broccoli stems or starchy like potato peels, they cloud the broth and throw off the balance.
- Load the Pot:
- Toss the scraps, bay leaf, peppercorns, garlic, salt, and thyme into your largest stockpot. It should look like a beautiful, chaotic pile of kitchen memories.
- Add the Water:
- Pour in cold water until everything is submerged by at least an inch. Cold water is key, it coaxes out flavor slowly as the temperature rises.
- Bring to a Boil:
- Set the pot over medium high heat and wait for that first rolling boil. You will see bubbles breaking the surface and smell the aromatics starting to bloom.
- Simmer Gently:
- Lower the heat until you have just a few lazy bubbles rising every second. Let it go for 45 to 60 minutes, skimming off any foam that floats up with a spoon.
- Taste and Adjust:
- After an hour, dip a spoon in and taste. Add a pinch more salt if it needs it, but remember you can always add salt later in whatever dish you use this for.
- Strain It Out:
- Set a fine mesh sieve or a colander lined with cheesecloth over a big bowl. Pour the broth through slowly, letting gravity do the work, then press gently on the solids to squeeze out every last drop.
- Cool and Store:
- Let the broth cool to room temperature before transferring it to jars or containers. It keeps in the fridge for up to five days or in the freezer for three months, ready whenever you need it.
 Pin It
 One rainy evening, I used this broth to make a simple pot of rice for dinner. My kids, who usually ignore anything remotely vegetable related, kept asking why it smelled so good and tasted different. I did not tell them it was made from peels and ends, I just smiled and let them think I had magic powers. That is the beauty of this broth, it sneaks goodness into everything without announcing itself.
How to Build Deeper Flavor
Roasting your scraps before simmering them changes everything. Spread them on a baking sheet, drizzle with a tiny bit of oil, and roast at 200 degrees Celsius for about twenty minutes until the edges caramelize. The broth that results is darker, richer, almost meaty in its depth, and it makes your kitchen smell like a professional kitchen. I do this whenever I have a little extra time and want the broth to be the star of the dish, not just the background.
Storage and Freezing Tips
I freeze broth in ice cube trays first, then pop the cubes into a freezer bag. This way, I can grab just a cube or two for deglazing a pan or adding moisture to grains without thawing a whole container. Mason jars work great for fridge storage, but leave at least an inch of headspace if freezing them, or the glass can crack. Label everything with the date, because three months later a mystery jar in the freezer is never as exciting as you hope.
Ways to Use Your Broth
This broth is not just for soup. I use it to cook quinoa, couscous, or rice for an instant flavor boost, or I add a splash to sauteed greens to keep them from sticking. Sometimes I heat a mug of it in the microwave, add a squeeze of lemon and a pinch of chili flakes, and sip it like tea on cold mornings. It is also the secret ingredient in my gravy, my risotto, and honestly any dish that needs a little soul.
- Freeze in portions so you always have the right amount on hand.
- Add a splash to pasta water for extra savory depth.
- Use it to thin out thick soups or stews without diluting the flavor.
 Pin It
 Making broth from scraps is one of those quiet kitchen victories that feels both practical and a little bit magical. You will never look at carrot peels the same way again.
Recipe FAQs
- → What vegetable scraps work best for broth?
Use carrot peels, onion skins, celery ends, leek tops, mushroom stems, parsley stems, and garlic skins. Avoid potato peels, broccoli, cauliflower, and cabbage as they create bitterness and cloudiness.
- → How long can I store homemade vegetable broth?
Store in airtight containers in the refrigerator for up to 5 days or freeze for up to 3 months. Cool completely before storing to maintain freshness and prevent bacterial growth.
- → Can I roast the scraps before simmering?
Yes, roasting vegetable scraps at 200°C (400°F) for 20 minutes before simmering adds deeper, richer flavor and enhances the overall complexity of your broth.
- → Should I add salt while making the broth?
Add minimal salt during cooking if you plan to use the broth in other dishes. This allows better control over final seasoning in your finished meals.
- → How can I add more umami flavor?
Add a small piece of kombu seaweed or dried mushrooms during simmering. These ingredients contribute deep savory notes that enhance the overall depth of your broth.
- → What's the ideal simmering time?
Simmer gently for 45-60 minutes. This timeframe extracts maximum flavor from the scraps without creating bitterness or breaking down the vegetables excessively.